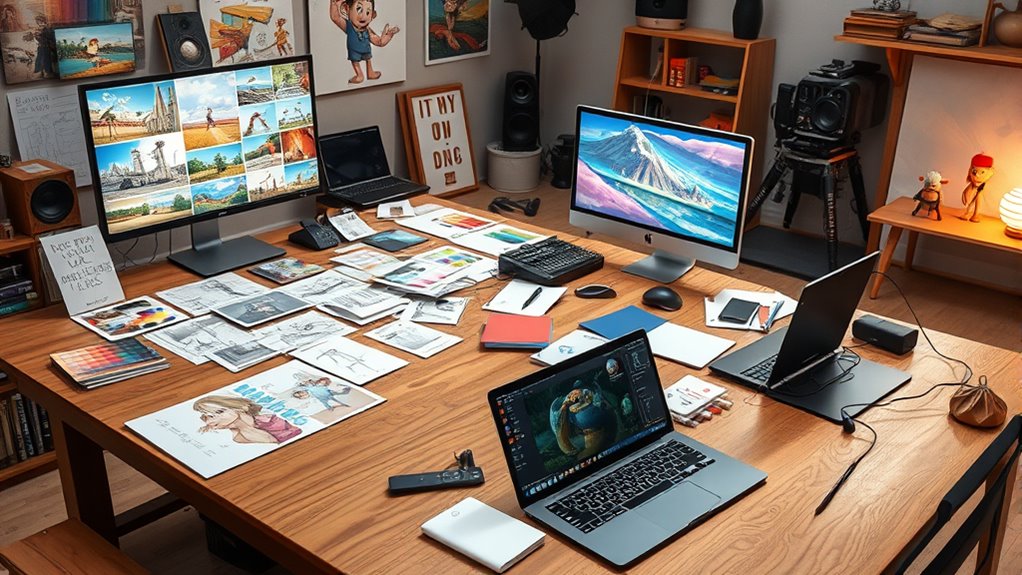
Your animation workflow starts with brainstorming ideas and creating storyboards to plan your narrative. Next, you develop layouts and design characters, setting up scenes and visual styles. You then animate your scenes, syncing movements with sound. Afterward, you combine layers and add effects through compositing. Finally, you review and refine your work before rendering the finished piece. If you want to explore each step in detail, keep exploring how these stages come together seamlessly.
Key Takeaways
- Develop detailed storyboards and layouts to establish scene composition and character design.
- Animate scenes by refining movement, timing, and syncing with sound for dynamic visuals.
- Combine layers and add visual effects during compositing to enhance depth and mood.
- Perform color grading and adjustments to ensure visual consistency and style.
- Conduct final reviews, correct artifacts, and finalize renders for a polished, cohesive product.
Concept Development and Storyboarding
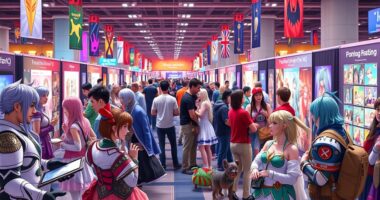
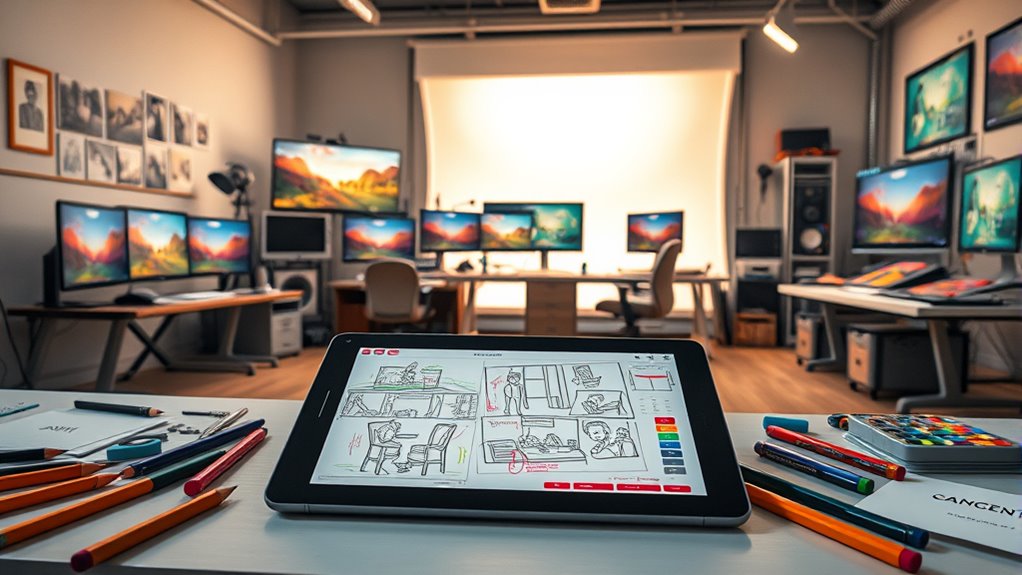
Have you ever wondered how animators turn a simple idea into a visual plan? It all begins with concept development and storyboarding, where visual storytelling takes center stage. You’ll use ideation techniques like mind mapping or thumbnail sketches to explore different ways to convey your story. This process helps you refine your narrative, focusing on key moments and emotional beats. As you develop concepts, you’ll sketch rough storyboards, translating your ideas into sequential images that guide the entire animation process. Your goal is to communicate your story clearly and compellingly, setting a strong foundation for the next stages. Through this iterative process, you transform raw ideas into a visual blueprint that captures the essence of your story. Additionally, understanding how to adapt your visual plans to international markets can help ensure your animation resonates globally.
Layouts and Character Design

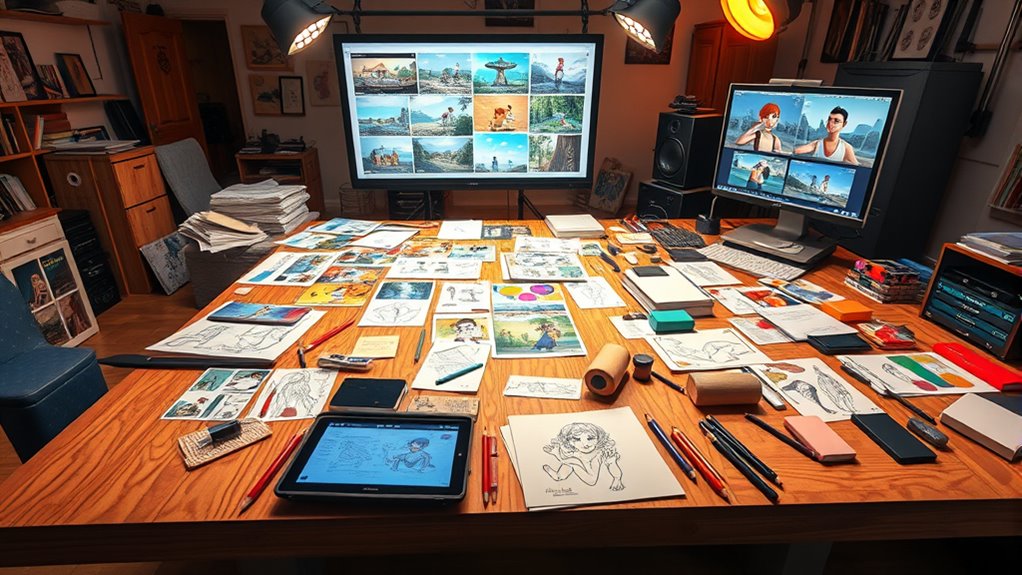
Once your story is firmly outlined, it’s time to focus on layouts and character design, which shape the visual structure and personalities within your animation. Start by creating layout sketches that define scene compositions, camera angles, and background placement. These layouts set the groundwork for your animation’s flow. Simultaneously, develop your character turnaround, showcasing your characters from multiple angles to guarantee consistency. Choosing effective color palettes is vital here, as they establish mood and personality traits. This process involves understanding how relationships influence personality, which can inform character development and interactions. Use these palettes to inform clothing, skin tones, and environment colors. This stage helps you visualize how characters and scenes will look in motion, providing a solid foundation for subsequent animation and scene production. Clear, detailed layouts and character designs streamline the entire workflow.
Animation and Scene Production
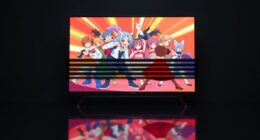
With your layouts and character designs in place, you can now begin bringing your scenes to life through animation and scene production. This stage involves translating static images into dynamic motion, syncing voice acting, and incorporating sound design to enhance realism. You’ll refine character movements, add timing, and ensure emotional impact. Pay attention to lip-sync and facial expressions to match voice performances perfectly. Incorporate sound effects and background music to deepen immersion. Keep your workflow organized to manage multiple scenes efficiently. Remember, precise animation and thoughtful sound integration are key to creating compelling scenes. Additionally, understanding color accuracy and how it impacts visual fidelity can help you achieve more vibrant and realistic scenes.
Compositing and Visual Effects

After completing the animation and scene production, the focus shifts to compositing and visual effects to enhance the final look. Using digital tools, you combine multiple layers, including backgrounds, characters, and effects, to create a seamless scene. This step allows you to add depth, adjust lighting, and integrate elements like fire, smoke, or particles. Color grading becomes essential here, helping you set the mood and ensure visual consistency across shots. You can tweak hues, contrast, and saturation to achieve the desired atmosphere or style. Precise compositing ensures that all components blend naturally, making the scene believable and polished. Incorporating techniques such as color correction can further refine the visual harmony and mood of the scene. This stage transforms raw renders into a cohesive, visually compelling final product ready for the last stages of review and rendering.
Final Rendering and Review
Final rendering and review are critical steps that determine the quality and readiness of your animated project. During rendering, you apply various rendering techniques to achieve the desired visual effects, lighting, and textures. The review process involves meticulously examining the rendered frames for issues like artifacts, color inconsistencies, or timing errors. It’s essential to verify that all elements align with your creative vision and technical standards. Incorporating diverse design options can also help identify potential visual mismatches or inconsistencies in the final output. Key tasks include:
- Checking for rendering errors and optimizing techniques for efficiency
- Adjusting color grading and compositing details
- Ensuring smooth progressions and proper timing
- Gathering feedback from team members to refine the final output
This stage guarantees your project is polished and ready for delivery or presentation.
Frequently Asked Questions
How Do Animators Manage Collaboration Across Different Departments?
You manage collaboration across different departments by prioritizing clear cross-department communication, ensuring everyone stays aligned on project goals. You use shared asset management systems to keep files organized and accessible, reducing confusion and duplication. Regular meetings and updates help keep everyone on the same page, while collaborative tools streamline feedback and revisions. This approach fosters efficient teamwork, enabling smooth progression from storyboarding to final composite.
What Software Tools Are Most Effective for Complex Animations?
When choosing software for complex animations, you want tools that guarantee software compatibility and rendering efficiency. Programs like Autodesk Maya, Blender, or Cinema 4D are popular because they handle complex scenes well and integrate smoothly with other software. These tools let you optimize rendering times, improve workflow, and manage intricate details efficiently. Your goal is seamless collaboration and high-quality output, making these software choices ideal for demanding animation projects.
How Is Animation Quality Maintained During Fast-Paced Projects?
During fast-paced projects, you maintain animation quality through strict quality control and speed optimization. You regularly review your work, catch errors early, and use efficient tools to streamline processes. Prioritizing critical scenes and setting clear milestones helps you stay on track without sacrificing quality. By balancing quick turnaround with detailed checks, you guarantee your animations remain polished, even under tight deadlines.
What Are Common Challenges in Integrating Live-Action With CGI?
You might face challenges when integrating live-action with CGI, especially with motion tracking and lighting integration. Precise motion tracking is vital to match CGI elements seamlessly with live footage, but it can be tricky if the footage has complex movement or camera shifts. Lighting integration is also essential; mismatched lighting can make CGI stand out unnaturally. Both require careful planning and technical skill to guarantee the final composite looks natural and cohesive.
How Do Artists Ensure Consistency in Character Appearance Throughout Production?
Imagine a character’s design as a guiding star, helping you stay on course. You guarantee consistency by creating detailed reference sheets and detailed character design guides. Regularly checking against these references throughout production keeps the character’s appearance uniform. This way, every animator, modeler, and renderer aligns, maintaining visual coherence and preventing discrepancies, just like following a map through a familiar landscape. Consistent reference use keeps your character looking the same from start to finish.
Conclusion
Now that you’ve navigated the nuanced network from concept creation to mesmerizing completion, you see how each step seamlessly syncs. Your story springs to life through skillful sketches, spirited scenes, and stunning scenes. With a sharp eye for details and a steady hand for harmony, you turn ideas into inspiring imagery. Remember, mastering this magnificent, meticulous process makes your animated ambitions truly come alive—transforming simple sketches into spectacular visual stories.