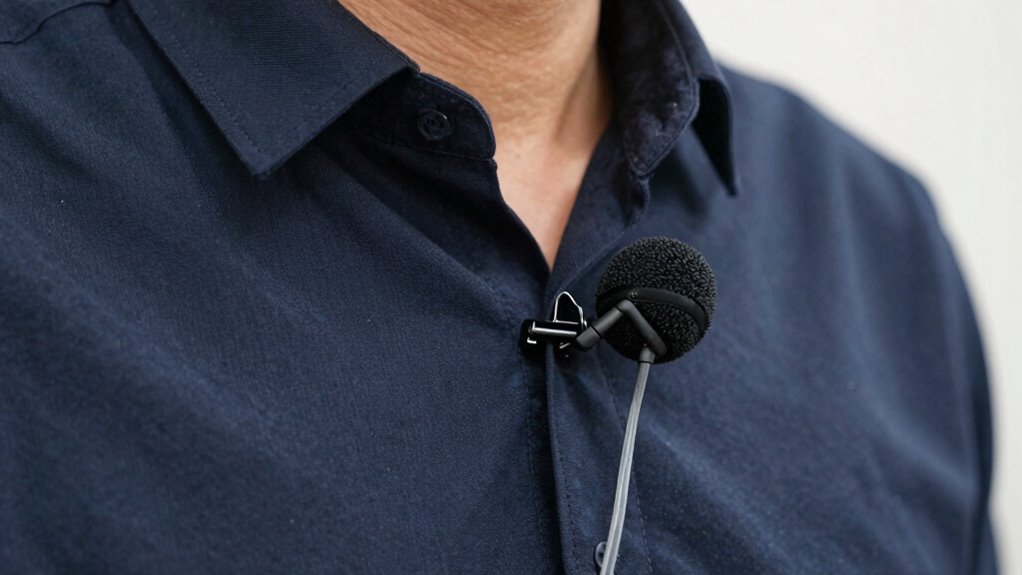
To boost your lavalier mic clarity, use the clip trick by positioning the mic near your collarbone, clipped at an angle just below your chin. Secure the clip on a flat, smooth spot away from seams, jewelry, or noisy fabrics. Tucking excess cable and testing audio beforehand helps. Proper placement minimizes rustling and background noise, ensuring natural sound. Keep exploring for more expert tips to perfect your microphone setup and achieve professional-quality audio.
Key Takeaways
- Position the mic close to the mouth, just below the collarbone, for optimal clarity and consistent sound pickup.
- Clip the mic at an angle to the chest or collar area to minimize clothing noise and movement.
- Tuck excess cable and secure clips tightly to prevent shifting and reduce handling noise.
- Use the “clip trick” by angling the clip to keep the mic centered and close to the mouth.
- Regularly test and fine-tune placement to adapt to different environments and improve audio clarity.
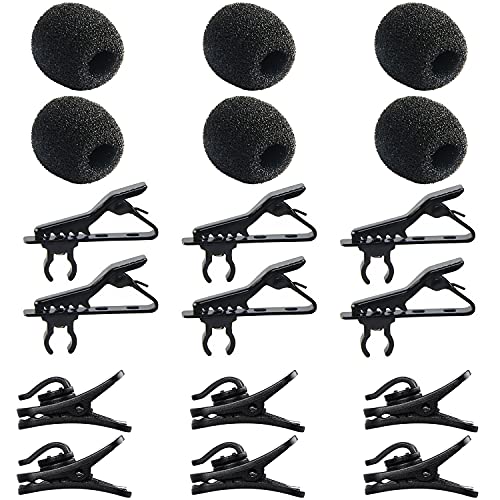
AUGSUN 18Pcs Lapel Microphone Clips Replacement Kit, 6Pcs Lavalier Mic Clips Metal Tie Clips Lavalier Microphone Clips, 6Pcs Windscreen Foam Cover and 6Pcs Plastic Wire Clips
Quantity of Package – Package includes 6pcs lavalier microphone clips, 6pcs foam windscreen covers and 6pcs lav mic…
As an affiliate, we earn on qualifying purchases.
As an affiliate, we earn on qualifying purchases.
Why Proper Lavalier Mic Placement Matters for Clear Audio
Proper placement of your lavalier microphone is essential because it directly impacts the clarity and quality of your audio. When positioning the mic, pay attention to microphone orientation; keep it aimed toward your mouth for consistent sound pickup. Incorrect orientation can lead to muffled or uneven audio. Clothing interference is another critical factor—if the mic rubs against clothing or is hidden beneath it, you’ll hear rustling noises that distract from your voice. To avoid this, clip the microphone securely in a spot where it’s close to your mouth but not obstructed by fabric. Proper placement ensures your voice remains clear and natural, while minimizing unwanted noise, making your audio professional and easy to understand. Adjusting microphone placement can further optimize sound quality and reduce background noise.

DJI Mic Mini (2 TX + 1 RX + Charging Case), Wireless Lavalier Microphone for iPhone/Camera/Android, Ultralight, Detail-Rich Audio, 48h Use, Noise Cancelling, Automatic Limiting, Vlog, Streaming
Small but Mighty – The DJI Mic Mini lavalier microphone transmitter is small and ultralight, weighing only 10…
As an affiliate, we earn on qualifying purchases.
As an affiliate, we earn on qualifying purchases.
Common Mistakes When Placing Your Lavalier Microphone
One common mistake is placing the microphone too close to clothing, which can cause rustling sounds and muffled audio. Ignoring the sound environment can also lead to poor audio quality if you don’t consider background noise. Being mindful of these issues helps guarantee your recordings sound clear and professional. Additionally, proper microphone placement techniques are essential to ensure optimal audio clarity and minimize unwanted noise.
Improper Placement Near Clothing
Have you ever noticed how clothing can interfere with your microphone’s sound quality? When you place your lavalier too close to clothing, fabric noise can create unwanted distractions, making your voice harder to hear clearly. Clothing interference often results from clips that aren’t secure or are placed near collars, jewelry, or loose fabric. These areas shift as you move, causing rustling sounds that distract your audience. To avoid this, secure your mic away from clothing that moves or rubs against it. Use clothing clips properly, and choose a spot that minimizes contact with fabric. Keep the mic close to your mouth, but avoid areas where clothing can cause noise. Proper placement ensures cleaner audio and a more professional sound. Additionally, understanding microphone placement techniques can help you achieve optimal audio quality in various recording situations.
Ignoring Sound Environment
Did you consider how your environment impacts your microphone’s sound quality? Ignoring the sound environment can lead to poor audio, as ambient noise and background distractions seep into your recording. If you place your lavalier mic without considering the surroundings, you risk capturing unwanted sounds that diminish clarity. Be mindful of nearby fans, traffic, or open windows that introduce ambient noise. Also, avoid noisy equipment or crowded spaces that create distracting background sounds. Proper placement involves choosing a quiet area and positioning the mic away from potential noise sources. Recognizing and controlling your environment guarantees your microphone captures clean, focused audio. Additionally, understanding car protection options can help create a quieter environment by reducing external noise interference during recordings.

Phinus 10 Pack Lapel Microphone Windscreen, Headset Windscreen, Mic Foam Covers Lavalier Microphone Windscreen for Variety of Headset Microphone, Tough Sponge Material, Noise Reduction, Black
[🎸 CLEAN & SANITARY] – Lapel microphone windscreen can protect the microphone from dust, humidity, and human saliva,…
As an affiliate, we earn on qualifying purchases.
As an affiliate, we earn on qualifying purchases.
How to Use a Clip Trick to Improve Sound Quality
To enhance your Lavalier mic’s sound quality, using a simple clip trick can make a noticeable difference. Position your microphone closer to your mouth, but keep it steady to avoid rustling or noise. Clipping the mic at an angle, slightly below the chin or near the collar, helps reduce interference and ensures consistent wireless transmission. This placement minimizes cable noise and keeps the mic stable, which can extend battery life by preventing unnecessary adjustments or signal drops. A secure, well-placed clip reduces the need for re-recordings and improves clarity. Remember, a small adjustment in how you clip your mic can lead to clearer audio, better wireless performance, and longer-lasting battery life during your recordings or performances. Additionally, paying attention to the environmental impact of tissue paper can inspire eco-friendly choices in your overall setup and accessories.

ZOPPLM Wireless Mini Microphone for iPhone – 2 Pack Lavalier Bluetooth Microphone for Video Recording, 2 in 1 Noise Reduction Lapel Mic for Ipad, Android,Clip-on Mini Mic for Content Creators Podcast
Studio-Quality Sound: Experience broadcast-ready audio with the ZOPPLM mini microphone. This high-sensitivity microphone delivers recording studio vocal clarity,…
As an affiliate, we earn on qualifying purchases.
As an affiliate, we earn on qualifying purchases.
Best Places on Your Clothing to Position the Mic
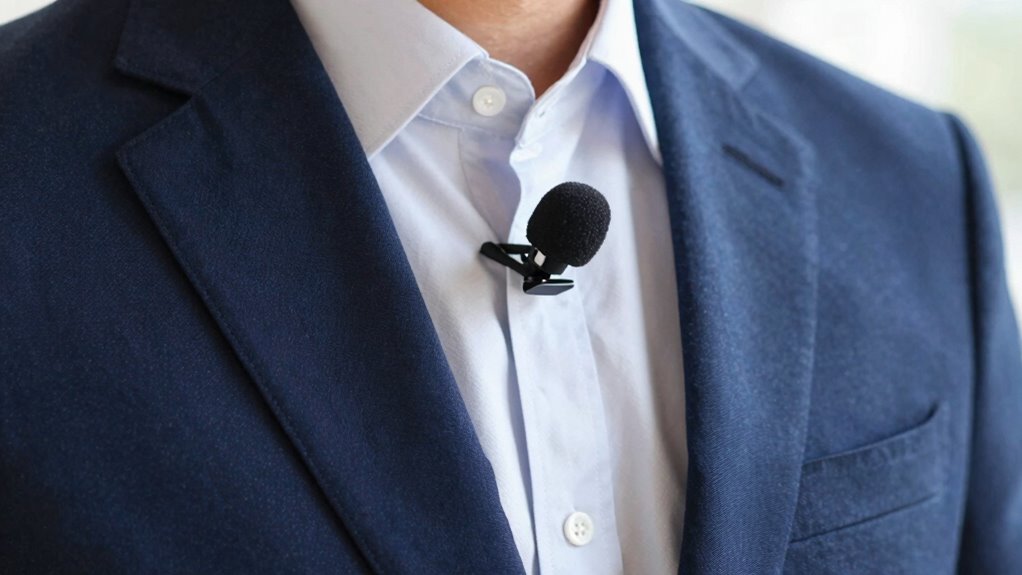
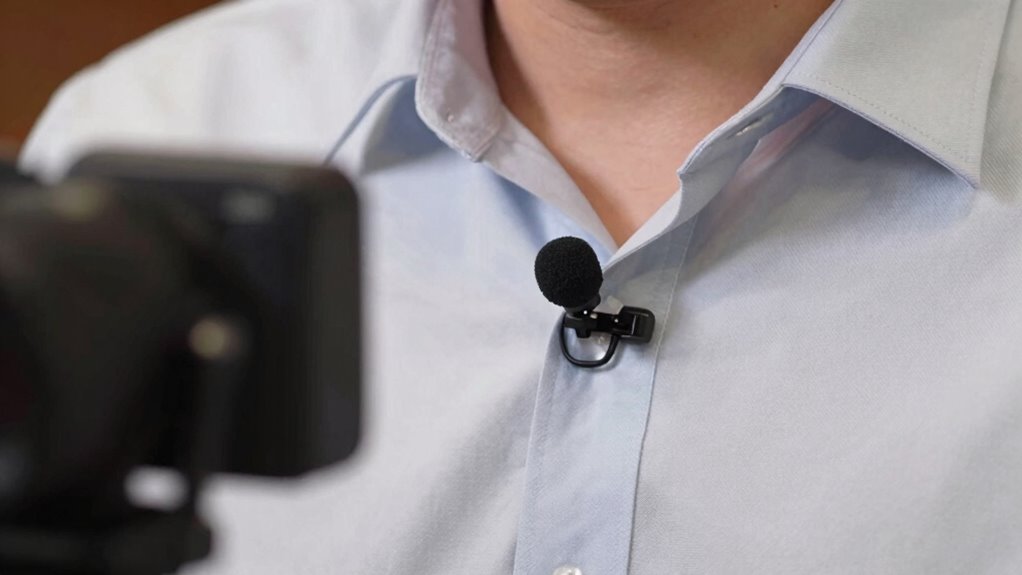
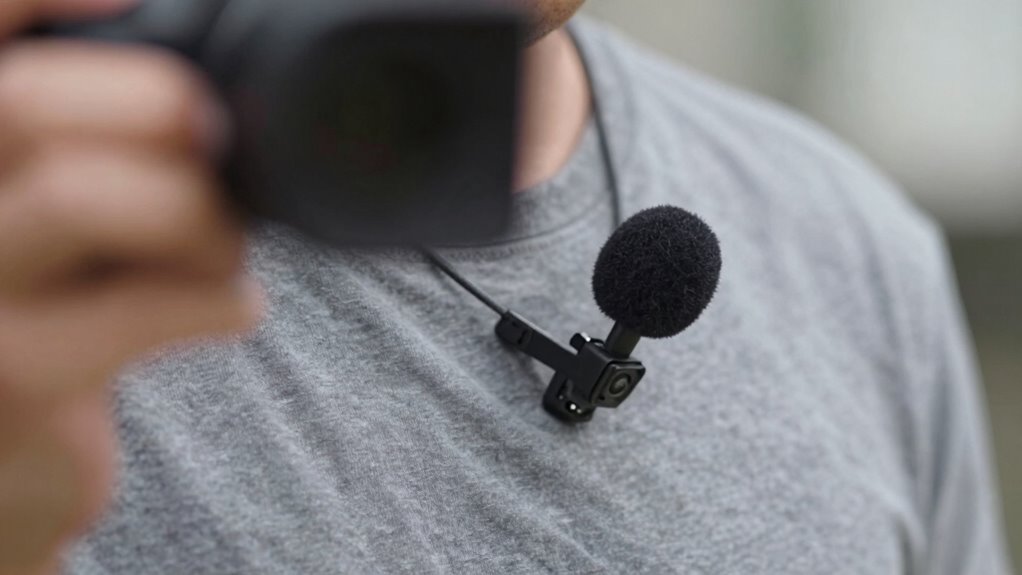
One of the best spots to place your lavalier mic is centered on your chest, just below the collarbone. This position helps capture clear, consistent sound without picking up too much background noise. Make sure the mic stays close to your mouth for the best results. Additionally, caring for your gear ensures it remains in good condition and performs optimally.
Centered on the Chest
Where exactly should you position a lavalier mic centered on your chest? Place it about an inch below your sternum, ensuring it’s centered and stable. This spot minimizes fabric noise and clothing interference, which can distort sound. Keep the mic away from thick seams or bulky fabric that may rub or create noise. Use a small clip to secure it firmly, reducing movement. Avoid placing it over buttons or zippers, as they can produce unwanted sounds. Positioning it on a smooth, flat area helps maintain clarity. Make sure it’s not too tight, which can cause rubbing, or too loose, which allows movement. Proper placement here offers a natural sound while reducing the chances of fabric noise disrupting audio quality. Additionally, being aware of regional fabric choices can help you select the best clothing for optimal mic placement.
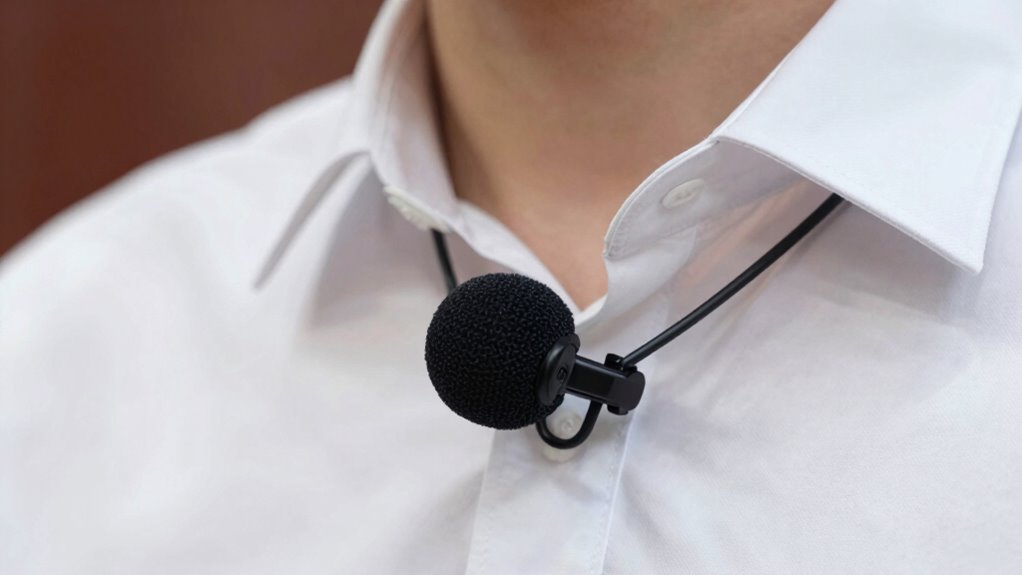
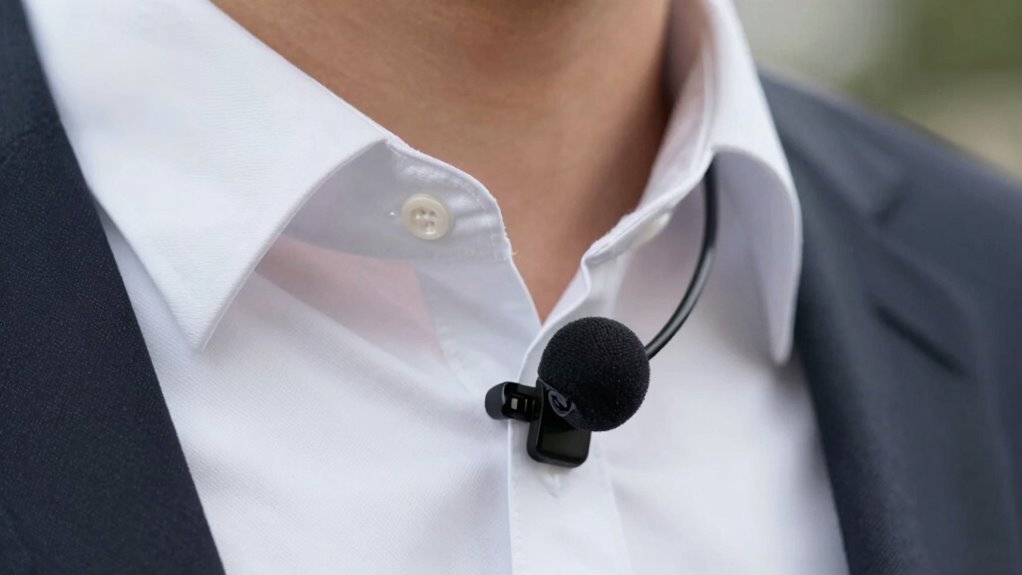
Near the Collarbone
Positioning a lavalier mic near the collarbone offers an excellent balance between visibility and sound quality. Placing it just below or beside the collar ensures clear audio while remaining discreet. To avoid fabric interference, choose clothing with smooth, stable fabric considerations that don’t easily shift or create noise. Be mindful of clothing that rubs or moves frequently, as it can cause unwanted noise or muffling. Use clips that secure the mic firmly in place to prevent shifting during movement. Additionally, selecting appropriate clothing materials can further reduce unwanted noise and improve sound clarity. Here’s a quick visual guide:
| Fabric Type | Best Placement Tips | Interference Risks |
|---|---|---|
| Cotton | Keep clip snug, below collarbone | Friction noise possible |
| Silk/Polyester | Secure tightly, avoid loose fabric | Slippery fabric causes slipping |
| Wool/Knits | Use additional clips if needed | Movement may displace mic |
How to Secure Your Lavalier Microphone to Minimize Noise
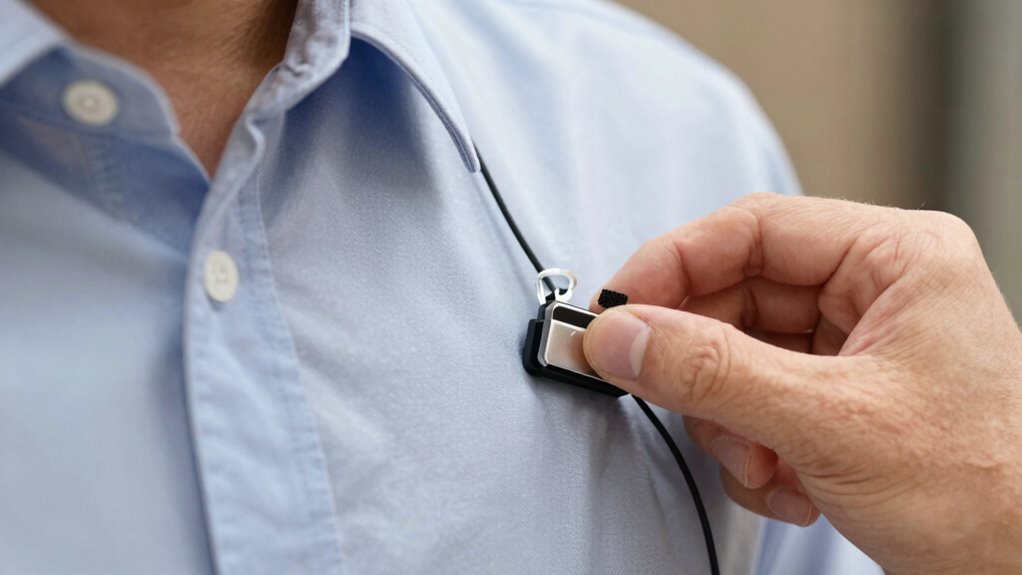
To minimize noise and guarantee clear audio, securing your lavalier microphone properly is essential. A loose clip can cause rustling or movement noise, which interferes with sound quality. Proper attachment prevents the mic from shifting and preserves your wireless system’s signal integrity, helping conserve battery life by reducing unnecessary adjustments. Choosing an appropriate clip type can also improve stability and comfort during use. To secure your lavalier microphone effectively, consider these tips:
- Use a high-quality clip that firmly holds the mic in place
- Attach it to sturdy fabric like a shirt or jacket collar
- Avoid placing it near noisy jewelry or accessories
- Tuck excess cable to prevent movement noise
- Test fit to ensure no rubbing or shifting during movement
Adjusting Your Lavalier Placement for Different Environments
Adapting your lavalier mic placement to suit different environments guarantees ideal audio quality and minimizes background noise. In outdoor settings, clip the mic closer to the speaker’s mouth, avoiding clothing noise, and ensure your wireless compatibility supports stable signal transmission. Indoors, position the mic slightly lower to reduce echoes or room noise. Keep an eye on your battery life; frequent adjustments may drain batteries faster, so plan accordingly. For noisy environments, place the mic near the speaker’s throat for clarity and better noise rejection. Remember, the right placement helps maintain consistent audio levels, regardless of environment changes. Adjusting the mic’s position thoughtfully guarantees reliable performance, making your recordings clearer and more professional. Additionally, understanding the wireless protocols used can help prevent interference and improve connection stability.
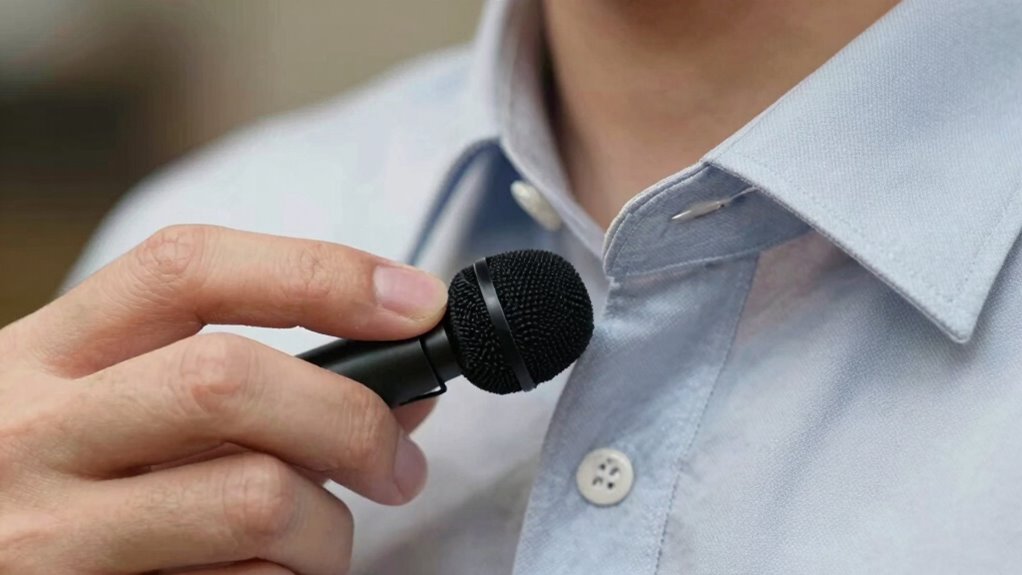
How to Test and Fine-Tune Your Lavalier Microphone Placement
Testing and fine-tuning your lavalier microphone is crucial to guarantee it captures clear, balanced sound. Start by recording a short test clip, then listen carefully for any background noise or uneven volume. Check the wireless transmission quality to ensure no dropouts or interference, especially if you’re moving around. Pay attention to the microphone’s placement relative to your mouth, making sure it stays consistent to preserve sound clarity. Keep an eye on battery life during longer recordings to avoid unexpected shutdowns. Adjust the clip or positioning as needed for ideal sound capture. Regular testing helps identify issues early, ensuring your audio remains professional and reliable throughout your shoot. Additionally, support breakfast by choosing a quiet environment to minimize background noise and optimize audio quality.
Essential Accessories and Techniques to Boost Lavalier Sound Clarity
Using the right accessories and techniques can considerably enhance your lavalier microphone’s sound clarity. Investing in quality wireless systems ensures a stable connection with minimal interference, which is essential for clear audio. Additionally, adding wind protection, such as foam covers or furry windshields, helps reduce wind noise and plosive sounds that can muddy your recordings. Proper placement of the microphone is also critical; using clip tricks or positioning it closer to the speaker’s mouth can improve clarity. Securely attaching accessories prevents shifting during movement, maintaining consistent sound quality. Selecting high-quality wireless systems designed for professional audio ensures optimal performance and reduces potential signal disruptions. Combining reliable wireless systems with effective wind protection and strategic placement creates a clean, professional sound, making your recordings more intelligible and polished.
Frequently Asked Questions
How Does Clothing Fabric Affect Lavalier Mic Sound Quality?
Clothing fabric can considerably affect your lavalier mic sound quality through fabric interference and sound absorption. Thin, smooth fabrics like silk cause minimal interference, ensuring clear audio. However, thicker or textured materials like wool or fleece absorb sound, dulling the audio and creating unwanted noise. To improve clarity, choose lightweight, smooth clothing and avoid bulky fabrics that trap sound, allowing your mic to capture your voice more accurately.
Can Body Movement Impact Microphone Placement Stability?
Yes, body movement can impact microphone placement stability. When you move, clothing interference might cause the mic to shift or rattle, affecting sound quality. To prevent microphone shifting, verify your clip is secure and consider using double-sided tape or a sturdy clip. Minimize sudden movements and keep the mic close to your body to maintain consistent audio clarity, especially during dynamic activities.
What Are the Best Practices for Outdoor Lavalier Mic Placement?
For outdoor lavalier mic placement, you should attach the mic close to your chest, ideally centered and unobstructed to guarantee clear wireless transmission. Use wind noise reduction accessories like furry windscreens or foam covers to minimize wind interference. Keep the mic secure with a clip that prevents movement, and test the signal regularly. This approach helps maintain high audio quality even in challenging outdoor environments.
How Do Different Microphone Types Influence Placement Strategies?
Microphone types markedly affect your placement strategies. Wireless microphones offer flexibility, allowing you to position them freely without tangled cords, perfect for dynamic environments. Lavalier mics with omnidirectional polar patterns pick up sound from all directions, so clip them centrally for balanced pickup. Conversely, cardioid mics focus on sound from one direction, requiring closer placement to your subject’s mouth. Understanding these differences helps optimize clarity and capture quality, wherever you record.
Are There Specific Techniques for Placing Lavalier Mics for Multiple Speakers?
For multiple speakers, you should focus on strategic microphone positioning to guarantee clear audio for each person. Clip lavaliers close to the mouth but avoid clothing noise. Maintain consistent distance for all speakers to facilitate smooth speaker coordination. Use separate channels if possible, and position mics so they don’t pick up each other’s voices. This approach helps balance sound levels and minimizes cross-talk, creating a professional and seamless audio experience.
Conclusion
By mastering proper placement and using simple clip tricks, you can substantially boost your lavalier mic’s clarity. Remember, over 60% of audio issues come from poor positioning, so take the time to test and fine-tune. With these tips, you’ll capture crisp, professional sound every time, no matter the environment. Just a small adjustment can make a big difference—so don’t underestimate the power of good placement to elevate your recordings.