The most common mistake with UST projectors is improper alignment and placement, which causes blurry, distorted, or poorly focused images. Many overlook the importance of choosing the right screen size, mounting height, and maintaining the correct throw distance. Focusing and keystone adjustments are vital for a sharp picture. If you keep these details in mind, you’ll get a clear, immersive experience. Stick around, and you’ll discover how to perfect your setup step by step.
Key Takeaways
- Improper screen placement and size selection can cause distortion and poor image quality in UST projector setups.
- Failing to align and focus the projector correctly leads to blurry images and keystone distortion.
- Not maintaining the correct throw distance results in image distortion and reduced clarity.
- Skipping the use of vibration dampers or insecure mounting causes wobbling and unstable images.
- Overlooking ambient light conditions diminishes contrast and sharpness, impacting overall viewing quality.

【Official Licensed Google TV】4K Smart Projector with WiFi and Bluetooth, VOPLLS Outdoor Projectors with Dolby/Auto Focus, Portable Movie Phone Wireless Gaming Wifi Proyector for Bedroom/Home/Celling
【Google TV Entertainment Hub: Your All-in-One Streaming Center】 Enjoy instant access to vast streaming content with zero setup—the...
As an affiliate, we earn on qualifying purchases.
Avoid This Common Mistake When Setting Up Your UST Projector

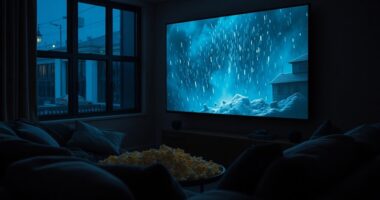
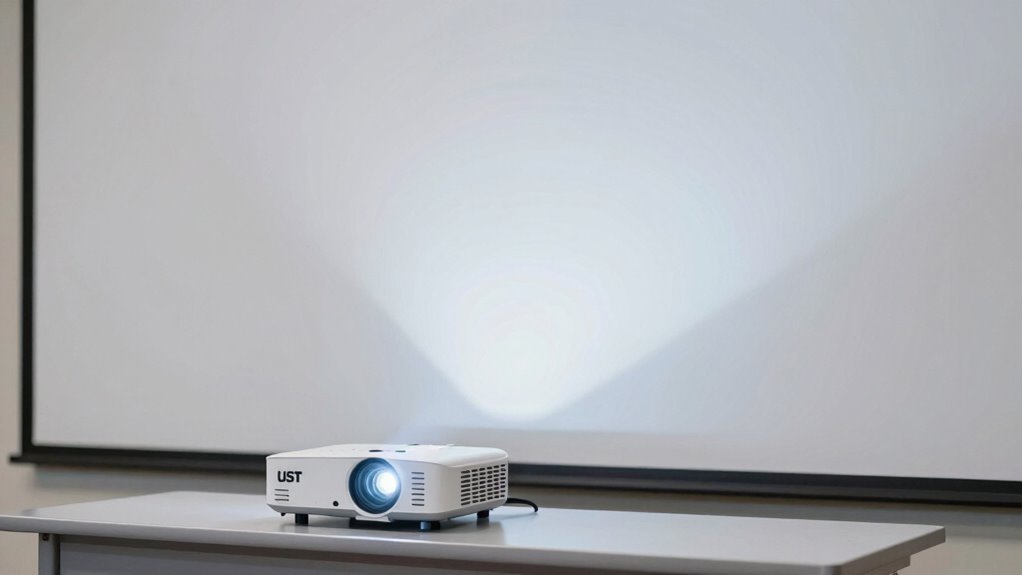
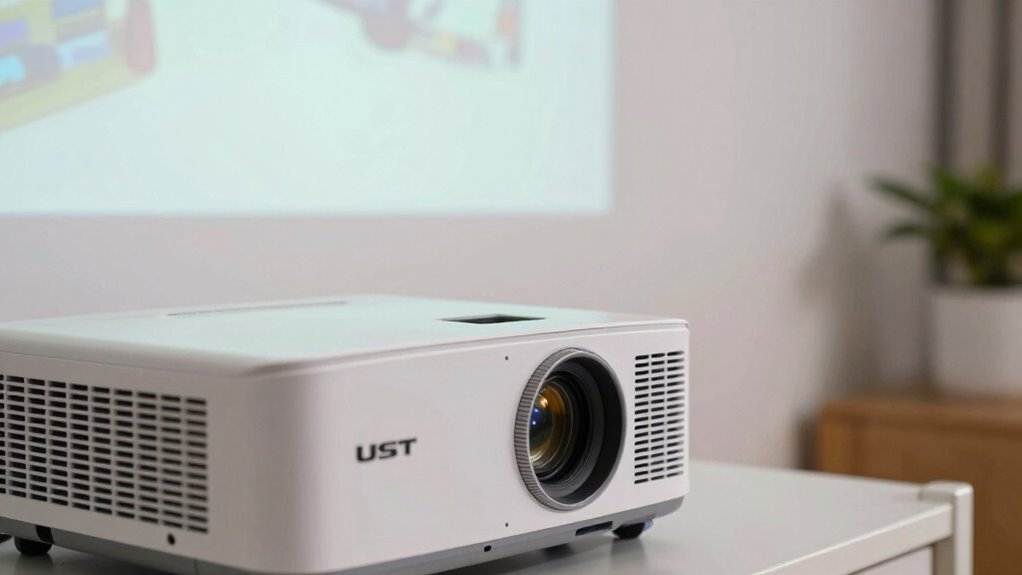
One of the most common mistakes when setting up your UST projector is not paying attention to the screen placement and alignment. You might assume that any spot on the wall works, but the screen size and projector placement are vital for a sharp image. If you place the projector too close or too far from the wall, the image quality will suffer, resulting in distortion or blurriness. Make sure to select a screen size that fits your space and set the projector at the right distance to fill the screen properly. Proper projector placement ensures you get the best picture without needing constant adjustments later. Taking the time to plan your screen size and positioning guarantees a clear, immersive viewing experience right from the start. Additionally, understanding the principles of inclusive casting can help you create a more welcoming and diverse entertainment environment.

Official Licensed Google TV Smart Projector, HAPPRUN 4K UHD Home Theater with Dolby Sound, Wi-Fi & Bluetooth, Built-in Streaming Apps, Compatible with Games Consoles & Smartphone, Indoor & Outdoor Use
[ Built-in Official Licensed Google TV ] - Without additional equipment, the smart projector can directly access Netflix,...
As an affiliate, we earn on qualifying purchases.
Why Proper Alignment Is Key to a Clear Image
Proper alignment is essential to guarantee your UST projector produces a sharp, clear image. When your projector is correctly aligned, lens calibration ensures the picture is focused and undistorted, maximizing image quality. Misalignment causes blurry edges, skewed proportions, and uneven focus. Additionally, ambient lighting plays a significant role; even with perfect alignment, too much light can wash out the image, reducing clarity. Proper setup involves adjusting the projector’s position and lens calibration to match your screen size and placement. This ensures the light hits the screen evenly and the image remains crisp. Content calibration is also crucial, as it fine-tunes the image settings for optimal clarity and color accuracy. By paying close attention to alignment and calibration, you eliminate common issues like ghosting or blurriness, making the most of your UST projector’s capabilities and enjoying a sharp, vibrant picture.

ALR Screen for UST Projector, 100 inch ALR Fixed Frame Projector Screen Wall Mount 16:9 8K/4K 3D, Grey Projection Screen, 0.39 inch Ultra-Narrow Bezel for Movies and Games
Cutting-Edge Screen Technology: Our UST ALR projection screen boasts a precision micro-toothed 3D structure and triangular grating, with...
As an affiliate, we earn on qualifying purchases.
How to Choose the Right Screen and Placement Height
Choosing the right screen and placement height is essential for achieving the best image quality from your UST projector. Selecting an appropriate screen size ensures your image fits your space without distortion, while considering ambient light helps optimize contrast and clarity. Generally, a larger screen enhances immersion, but avoid going too big for your room’s dimensions. The placement height should align with your viewing position, typically eye level or slightly higher, to prevent neck strain and ensure a uniform image. Use this table to guide your decision:
| Screen Size | Placement Height | Ambient Light Consideration |
|---|---|---|
| Larger | Eye level or above | Bright rooms need high contrast options |
| Medium | Slightly above eye level | Moderate ambient light, moderate screen size |
| Smaller | Near eye level | Darker room for best image quality |
Additionally, understanding the projection surface and its properties can significantly affect your viewing experience.

NothingProjector ALR Screen for Ultra Short Throw Projector, 85% Ambient Ceiling Light Rejecting, 100 inch, 4K/8K UHD, Active 3D, Fixed Frame 16:9, Wall Mount Anti Daylight UST, Classic Series NothPJ
【85% Ambient Light Rejection】Engineered for bright rooms, this screen uses advanced PET Crystal technology to reject up to...
As an affiliate, we earn on qualifying purchases.
Maintaining the Correct Throw Distance for Best Results

Maintaining the correct throw distance is key to getting the best image quality from your UST projector. If you’re too close or too far, you risk distorting the picture or losing clarity. Keeping the right distance guarantees sharp, undistorted images every time. Using the proper installation techniques can help ensure your projector is set up at the optimal throw distance for the best results.
Correct Distance Matters
Getting the image just right depends heavily on setting the correct throw distance. If you’re too close or too far, the picture can appear blurry or distorted. Maintaining the right distance ensures ideal projector brightness, so your image is bright enough without washing out. Different screen materials respond uniquely to projector light; some need precise positioning to maximize clarity and contrast. Using a manual or fixed lens, check your projector’s recommended throw distance, usually indicated on the device or in the manual. Staying within this range guarantees sharp focus and proper sizing. Remember, even a slight deviation can impact image quality, so measure carefully. Proper setup is essential for achieving the best visual results with your UST projector, making your setup seamless and professional.
Prevent Image Distortion
Properly maintaining the correct throw distance helps prevent image distortion and guarantees your projector produces a clear, proportional picture. When the projector is too close or far, lens distortion can occur, causing images to appear stretched or skewed. Ensuring the projector is at the recommended distance helps preserve the correct aspect ratio, so your content looks natural and undistorted. Avoiding distortion is vital for a sharp, professional display, especially when projecting detailed images or videos. Keep an eye on your projector’s specifications for ideal throw distance, and adjust accordingly. Doing so minimizes keystone effects and maintains image integrity. Remember, a precise setup not only improves picture quality but also extends the lifespan of your projector by reducing unnecessary strain on the lens.
How to Adjust Focus and Keystone for a Perfect Picture
Ever wonder how to make your projector image crystal clear and perfectly aligned? Begin with lens calibration to guarantee sharpness across the entire screen. Use autofocus adjustment if your projector has this feature; it automatically fine-tunes focus for a clear picture. For manual focus, slowly rotate the focus ring until the image is crisp and detailed. Next, adjust the keystone correction to straighten the image if it’s trapezoidal. Most projectors have keystone controls—use them to align the image vertically or horizontally. Don’t overdo it; small adjustments make a big difference. Combining precise focus with keystone correction results in a sharp, distortion-free picture. Always double-check your settings from your viewing position for the best viewing experience. Proper projector setup ensures your image remains clear and well-aligned throughout your viewing session.
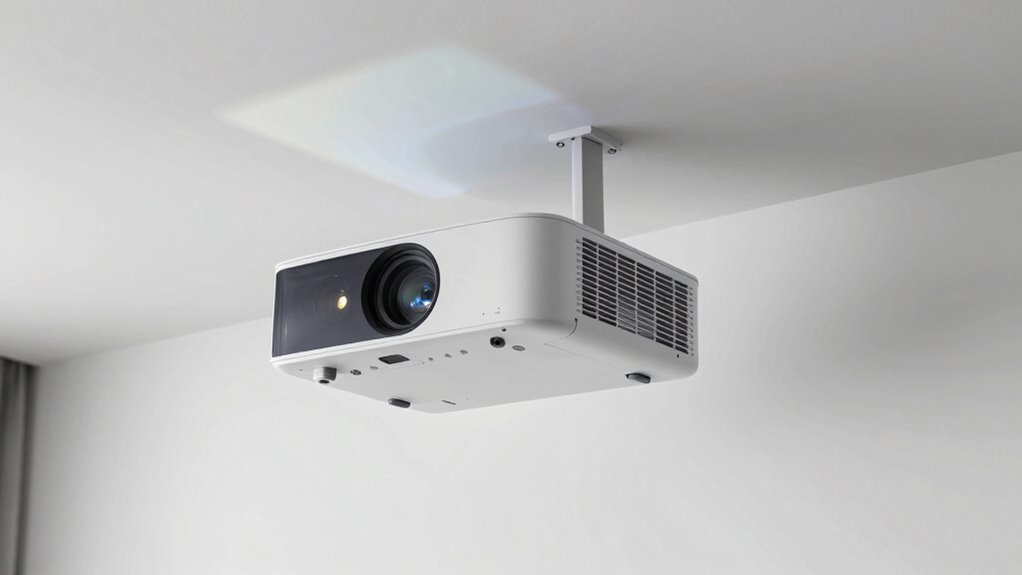
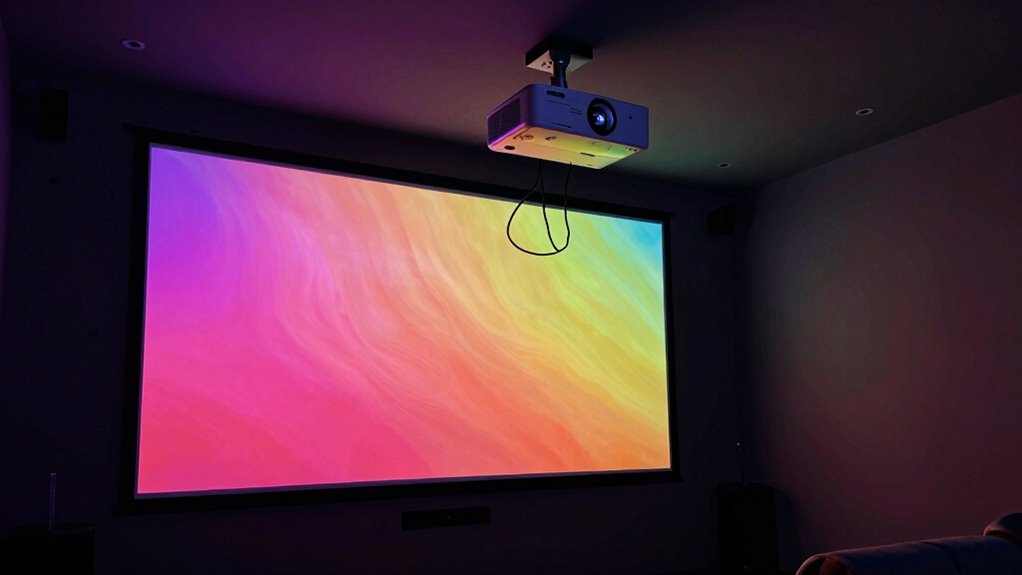
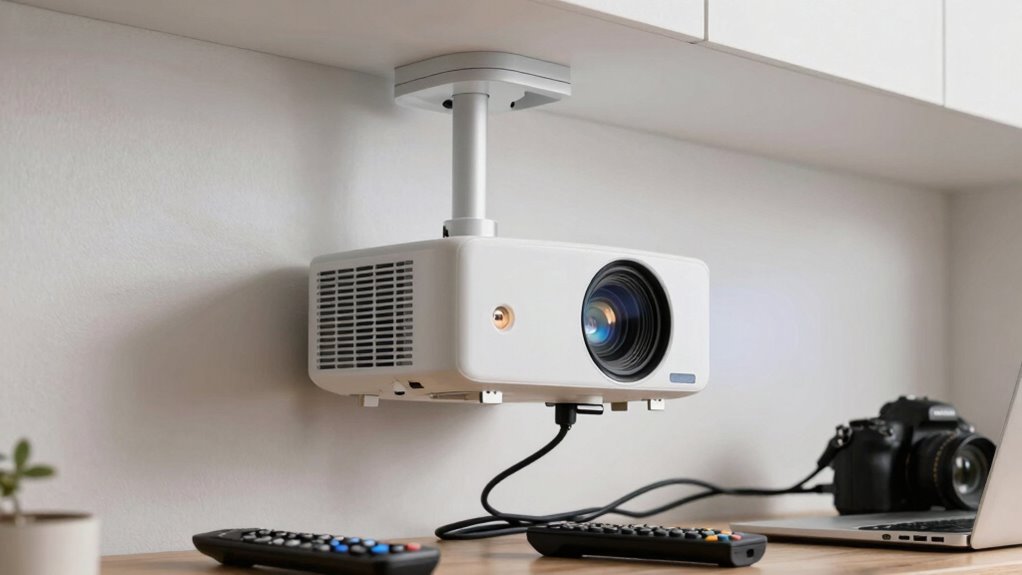
Tips for Mounting Your UST Projector Stable and Vibration-Free
To keep your UST projector stable and free from vibrations, start by choosing the right mounting height for a clear image. Make sure to use vibration dampers to absorb any shocks, and secure wall anchors firmly into the wall to prevent movement. Properly following these steps guarantees a secure, vibration-free setup that enhances your viewing experience. Additionally, considering water system efficiency can help prevent unexpected vibrations caused by plumbing issues or water flow irregularities.
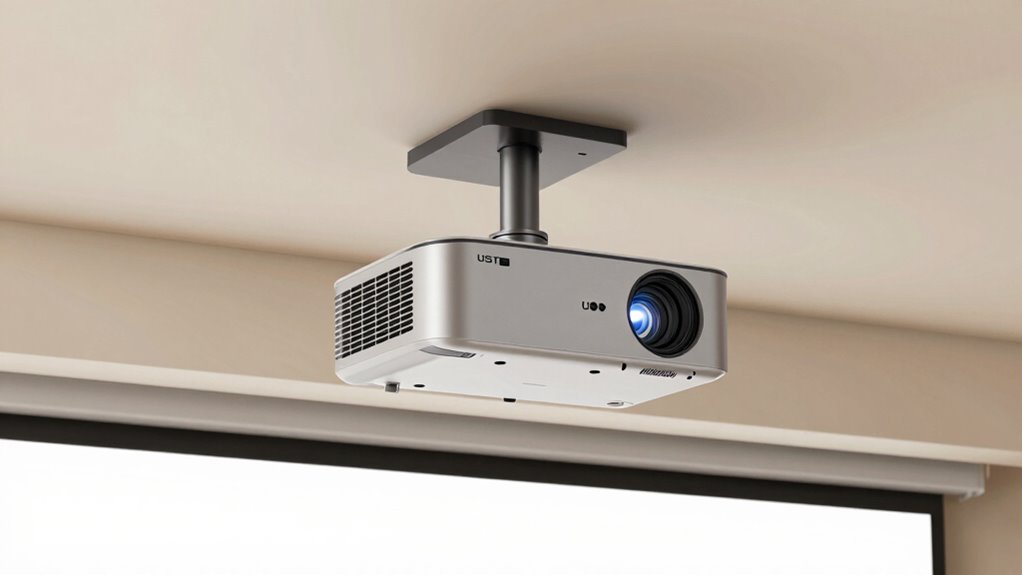
Proper Mounting Height
Finding the right mounting height for your UST projector is essential to guarantee a stable, vibration-free setup. Start by considering your room’s ceiling clearance to ensure the projector can be installed at an ideal height without crowding the space. A proper mounting height positions the projector close enough to avoid excessive lens shift and distortion but high enough to keep it stable and out of reach. Measure your ceiling clearance carefully, and choose a mounting point that aligns with your screen’s center for a balanced picture. Keep in mind that too low or too high can cause instability and image issues. Adjusting the mounting height precisely ensures your projector remains steady, minimizes vibrations, and delivers excellent picture quality.
Use Vibration Dampers
Using vibration dampers is a crucial step in ensuring your UST projector remains stable and delivers a clear picture. Vibration dampers absorb shocks and minimize movement, protecting your projector from external disturbances. Proper use of vibration dampers enhances projector stability, preventing image distortions caused by vibrations. When installing, consider these tips:
- Choose dampers suited for your projector’s weight and size
- Place dampers between the mount and the ceiling or wall
- Check for firm contact without over-tightening
- Regularly inspect dampers for wear or damage
- Combine dampers with a sturdy mounting surface for maximum stability
- Incorporate Free Floating principles to avoid additional stress on mounting points and enhance overall stability.
Incorporating vibration dampers is an easy, effective way to achieve a vibration-free setup, ensuring consistent picture quality and prolonging your projector’s lifespan.
Secure Wall Anchors
Secure wall anchors play a essential role in keeping your UST projector stable and vibration-free. Properly installed wall anchors guarantee your projector stays firmly mounted, even with daily use. Use wall anchors suited for your wall type and make sure they’re compatible with your mounting studs. When attaching your projector, verify that the anchors are secure in the studs for maximum stability. Here’s a quick guide:
| Wall Anchor Type | Best For |
|---|---|
| Toggle Anchors | Hollow walls, heavy loads |
| Expansion Anchors | Solid concrete, brick |
Always double-check that your mounting studs are correctly aligned and capable of supporting the projector’s weight. Proper installation of wall anchors prevents wobbling and ensures vibration-free performance. Additionally, understanding regional wall materials can help you select the most effective anchors for your specific setup.
Troubleshooting Blurry or Distorted Images After Setup
Have you noticed your projector image appears blurry or distorted after setup? This can happen if the lens isn’t properly calibrated or if ambient lighting interferes with the picture quality. To fix this, start with these steps:
- Check and adjust the lens calibration for sharpness.
- Reduce ambient lighting in the room for better contrast.
- Ensure your projector is aligned correctly with the screen.
- Verify the projector’s focus ring is properly set.
- Test different image settings like sharpness and contrast.
Frequently Asked Questions
Can I Use a Ceiling Mount for My UST Projector?
Yes, you can use a ceiling mount for your UST projector, but you need to ensure it offers proper mounting stability and ceiling compatibility. Check if the mount is designed for ultra-short-throw projectors and supports the weight. Proper installation is vital to prevent wobbling or damage. Verify the mount’s specifications and compatibility with your ceiling type for a secure, safe setup that keeps your projector stable and functional.
What Are the Best Ambient Light Conditions for UST Projectors?
You should aim for low ambient lighting and a dim room brightness, as over 70% of viewers find that high ambient light markedly diminishes image quality. UST projectors perform best in dark or dimly lit spaces, where ambient light is minimized. Keep curtains closed, turn off unnecessary lights, and avoid bright reflections. This ensures your projector’s image stays sharp, vibrant, and easy to see, delivering an ideal viewing experience.
How Often Should I Clean the Projector Lens?
You should clean your projector lens every few months or whenever you notice dust or smudges affecting picture quality. Regular lens maintenance helps prevent buildup that can distort images. Use a soft, lint-free cloth and gentle cleaning solutions designed for lenses. Avoid over-cleaning, as it can damage the lens coating. Maintaining a consistent cleaning frequency guarantees your UST projector delivers sharp, bright visuals without interruptions.
Is It Possible to Install a UST Projector Outdoors?
Yes, you can install a UST projector outdoors, but you need to take into account weather conditions carefully. Outdoor placement requires protection from rain, humidity, and extreme temperatures, so use a weatherproof enclosure or cover. Make certain the projector is mounted securely and that ventilation remains adequate. Regularly check for moisture or dirt buildup, and avoid direct sunlight to prevent overheating and image distortion. Proper planning guarantees a durable, high-quality outdoor setup.
What Safety Precautions Should I Take During Installation?
Imagine wrestling a wild beast while blindfolded—that’s what unsafe installation feels like. To avoid chaos, guarantee your mounting height is secure and stable, and don’t forget proper cable management to prevent tripping hazards or accidental disconnections. Always turn off power before starting, use appropriate tools, and double-check your work. Safety isn’t optional; it’s your first line of defense against a disastrous setup.
Conclusion
Did you know that nearly 60% of UST projector issues stem from improper setup? By avoiding common mistakes like poor alignment and incorrect throw distance, you can enjoy crisp, vivid images every time. Remember, a stable mount and precise adjustments make all the difference. Take your time with setup, and you’ll transform your space into the perfect home theater. Don’t let setup errors spoil your experience—get it right the first time for stunning results.