Understanding your projector’s throw distance is key to getting the right image size and avoiding costly mistakes. It’s the measurement from your projector to the screen, and knowing how to calculate it using your projector’s throw ratio helps you plan placement accurately. Proper setup prevents distortion, shadows, or repeated adjustments, saving you money in repairs or replacements. Keep exploring, and you’ll find simple ways to optimize your setup and avoid common—and costly—errors.
Key Takeaways
- Understanding throw ratio helps determine the optimal projector placement for your desired screen size.
- Calculating throw distance involves dividing screen width by the projector’s throw ratio for accurate setup.
- Proper measurement of room dimensions ensures the projector fits and avoids distortion or obstruction.
- Mechanical adjustments like lens shift and adjustable mounts enable fine-tuning without repositioning the projector.
- Correct throw distance calculation and calibration prevent costly mistakes, improve image quality, and extend projector lifespan.
What Is Throw Distance and Why Is It Important for Your Projector?
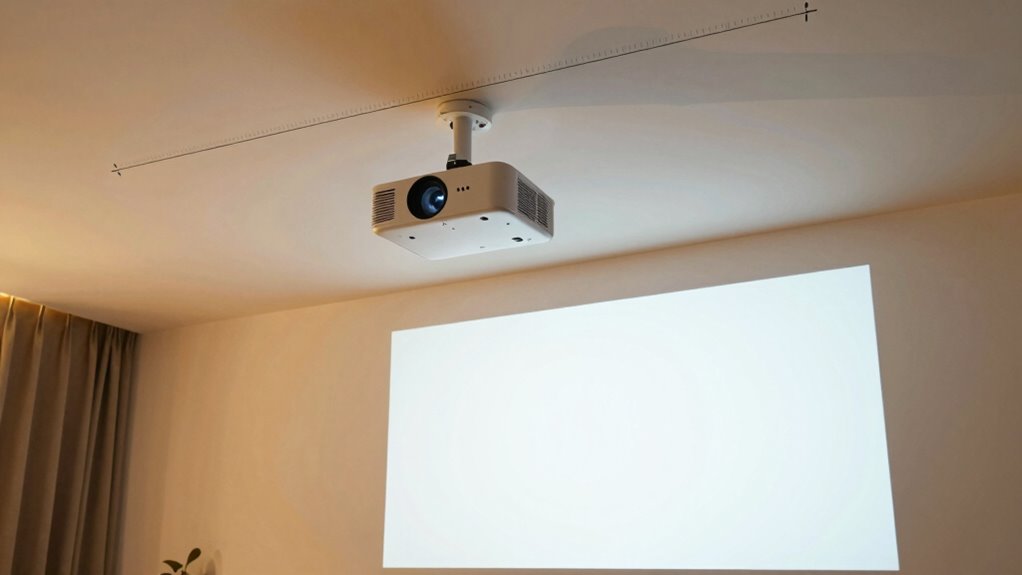
Have you ever wondered how far your projector needs to be from the screen to display a clear, properly sized image? That’s where understanding throw distance comes into play. Throw distance is the space between your projector and the screen, affecting the image size and clarity. Proper projection alignment relies on knowing this distance to ensure your image is centered and sharp. Without accurate throw distance, your image may be distorted or improperly scaled, making image calibration difficult. Getting this measurement right helps you optimize your setup, ensuring the projector’s lens and positioning produce a crisp, well-proportioned picture. Understanding throw ratio is essential for choosing the right projector and setup, ultimately saving you time and effort, preventing misaligned images, and ensuring your viewing experience is as intended.
How Do You Measure and Calculate Throw Distance for Your Room?
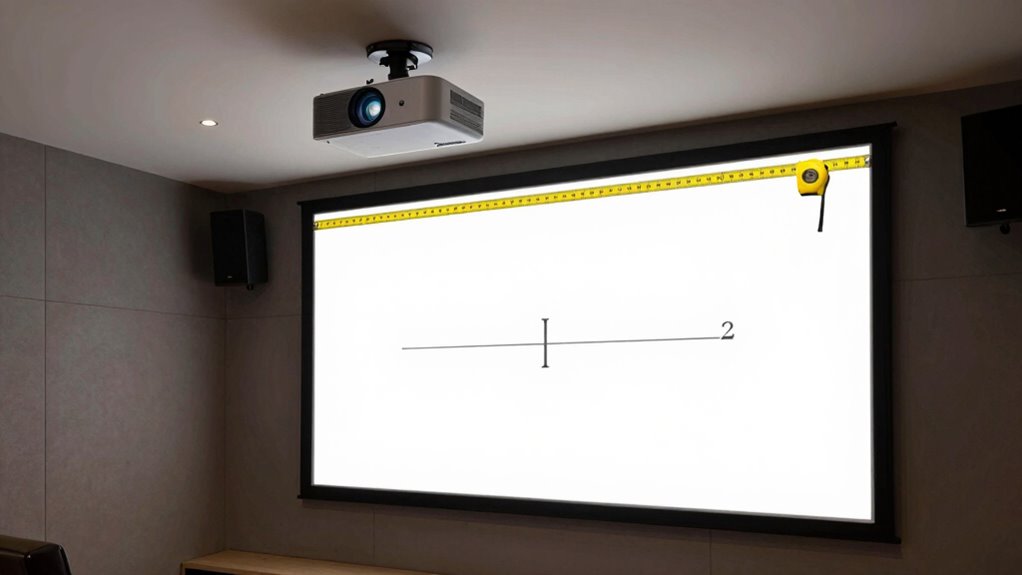
To measure your room’s dimensions accurately, grab a tape measure and note the distance from your projector’s intended placement to the screen area. Once you have these measurements, you can calculate the ideal throw distance based on your projector’s specifications. Knowing these details helps guarantee your setup delivers the best image size and clarity. Additionally, understanding cable failures and proper installation methods can ensure your setup remains reliable over time.
Measuring Room Dimensions Accurately
Accurately measuring your room dimensions is essential for determining the ideal projector throw distance. Start by measuring the length and width of your space with a tape measure, noting down precise figures. Consider your decorating styles, which can influence furniture placement and wall features, affecting projector positioning. Don’t forget to account for soundproofing options, like wall panels or insulation, that could alter the room’s usable space. Measure from the projected image location to the screen or wall where you plan to mount the projector. Be sure to include ceiling height if needed, especially for ceiling-mounted setups. Recording these measurements carefully guarantees you can select a projector with the right throw ratio and avoid costly miscalculations later. Additionally, understanding room acoustics can help you optimize sound placement and quality in your setup.
Calculating Optimal Throw Distance
Calculating the ideal throw distance is a critical step in setting up your projector for the best image quality. To do this effectively, consider these factors:
- Measure the distance from your projector to the center of your projection screen.
- Check your projector’s throw ratio, which guides the distance needed for a specific image size.
- Adjust for ambient lighting by ensuring the throw distance produces a bright, clear image despite room light.
- Confirm the projected image fits comfortably on your projection screen without distortion or loss of clarity.
How Does Throw Ratio Affect Your Projector Placement?

The throw ratio directly influences how far your projector needs to be from the screen to produce a clear, focused image. A higher throw ratio means you’ll need more space, increasing the projection distance for a given screen size. This affects your projection angle, which determines how the image fills the screen without distortion. If your throw ratio is too small, you’ll have to place the projector very close, possibly causing shadows or obstruction. Conversely, a larger ratio allows for more flexible placement, often farther away from the screen. Understanding this relationship helps you plan the ideal projector placement, ensuring the image fits your screen size perfectly while maintaining the desired projection angle for *best* viewing. Additionally, knowing the throw ratio can help you optimize your space and avoid costly repositioning later.
How Can I Calculate the Ideal Throw Distance for My Projector?
To find the perfect throw distance for your projector, start by knowing its throw ratio and your desired screen size. This helps you determine the correct placement for a clean projection setup. Here’s how:
- Divide your screen width by the projector’s throw ratio to find the ideal distance.
- Measure your space to ensure this distance fits comfortably within your room.
- Adjust the projector’s position accordingly, maintaining the calculated distance.
- Perform image calibration to fine-tune focus and image size, ensuring sharpness and clarity.
What Common Mistakes in Throw Distance Setup Could Cost You Money?

If you set your projector too close or too far from the screen, you risk sacrificing image quality and wasting money on unnecessary repairs or replacements. Common mistakes include neglecting proper installation tips, which can lead to distorted images or keystone effects. Failing to calibrate your projector correctly can also cause blurry or uneven pictures, forcing you to re-install or replace equipment prematurely. To avoid these costly errors, follow precise installation tips and ensure your projector is properly calibrated before use. Incorrect throw distance setup may also strain your projector’s internal components, leading to increased maintenance costs. Taking the time for proper setup and calibration not only improves image quality but also extends your projector’s lifespan, saving you money in the long run. Understanding nail biology can remind you of the importance of proper care and maintenance, similar to how correct projector setup extends device longevity.
How Do Different Types of Projectors Impact Throw Distance and Setup?

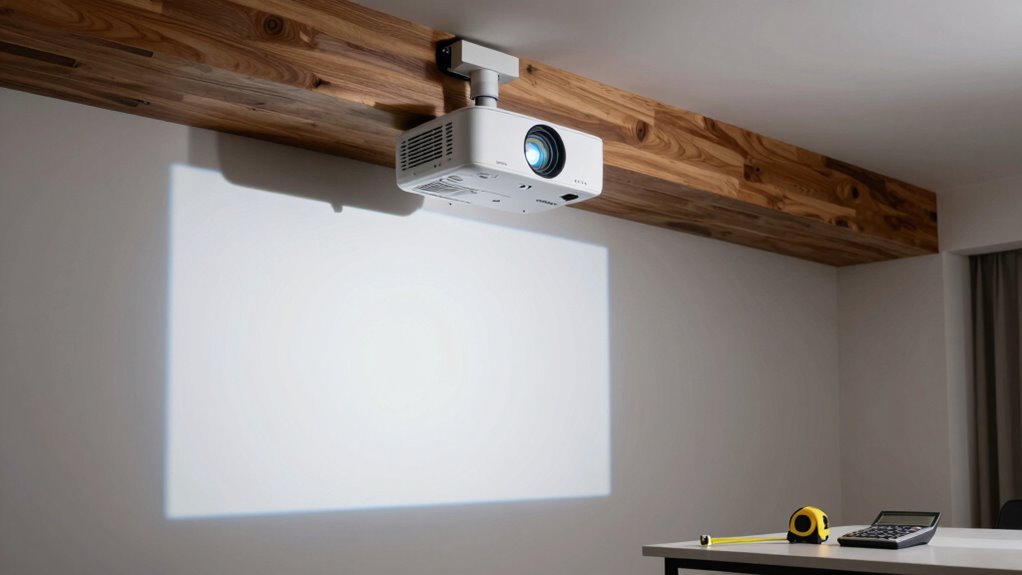
Different types of projectors have distinct throw distance requirements and setup considerations that can affect your image quality and installation process. For example, ultra-short-throw projectors need minimal distance and a specific projection angle to prevent distortion. Standard projectors require more space and careful positioning, especially if ceiling height is limited. Proper ventilation and adequate space are essential for maintaining optimal projector performance and image clarity. Consider these points: 1. Short-throw projectors need a small throw distance but a precise projection angle for clear images. 2. Long-throw projectors require more space and are sensitive to ceiling height, influencing setup. 3. The projection angle varies by projector type and impacts image alignment. 4. Ceiling height can limit or facilitate certain projector types, affecting overall throw distance and ease of setup.
How Can You Adjust Throw Distance When Your Room Layout Changes?
When your room layout changes, you can adjust the projector’s throw distance by repositioning the mount. Using lens shift allows you to fine-tune the image position without moving the projector itself. Both options help maintain a clear, properly sized picture despite changes in your space. Being aware of ethical considerations in consumer technology can also help you make more informed decisions about equipment adjustments and upgrades.
Adjusting Mount Position
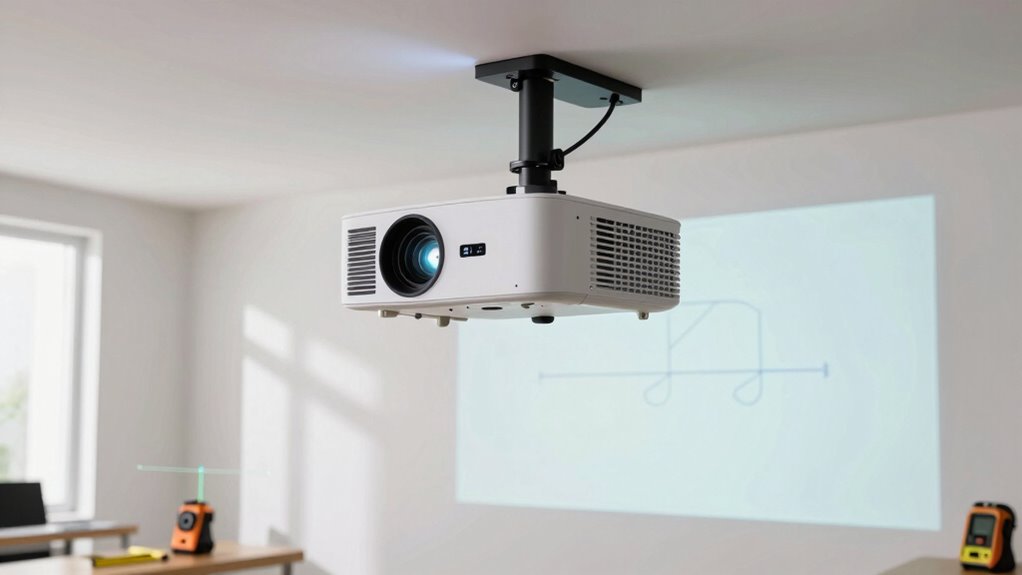
Adjusting your mount position is the most straightforward way to change your projector’s throw distance when your room layout shifts. If you use ceiling mounting, you can modify the mount’s position to fine-tune the distance easily. Here are steps to follow:
- Check if your mount allows for mount adjustment—many ceiling mounts are adjustable.
- Loosen the mounting brackets carefully, ensuring stability.
- Move the projector closer or farther from the screen based on your needs.
- Tighten everything securely to prevent shifting over time.
- Consider using sustainable textile care methods to reduce environmental impact if your setup involves fabric covers or casing, ensuring eco-friendly maintenance.
This method provides a simple, mechanical solution to changing your throw distance without needing to replace your projector or alter the room’s structure. It’s a quick fix that keeps your setup flexible and optimized.
Using Lens Shift
Using lens shift offers a flexible way to change your projector’s throw distance without moving the entire unit or modifying your room layout. By adjusting the lens shift, you modify the projection angle, allowing the image to move vertically or horizontally without impacting focus or image size. This feature is especially useful when room configurations change or space is limited.
| Lens Shift Direction | Effect on Projection |
|---|---|
| Vertical | Moves image up/down |
| Horizontal | Moves image left/right |
| Benefits of Lens Shift | Considerations |
| No need to reposition | Limited shift range in some models |
| Maintains image quality | Adjustments are precise |
Using lens shift saves time and money, providing a seamless way to adapt your projection setup.
What Tools and Calculators Can Help You Plan Your Throw Distance?
To accurately plan your throw distance, you can rely on various tools and calculators designed specifically for this purpose. These tools help you determine the most suitable projector placement and guarantee proper calibration. Here are some helpful options:
- Online throw distance calculators – Quick and easy tools that factor in projector model and screen size.
- Manufacturer’s projection calculators – Specific to your projector brand, assisting with precise calibration tips.
- Room measurement apps – Use your smartphone to measure distances and plan setup.
- Projection planning software – Advanced tools for detailed calibration and projector placement analysis.
Using these tools simplifies projector calibration, reduces guesswork, and saves you money by preventing costly mistakes. They guarantee your setup is accurate and your image quality is sharp.
How Does Mastering Throw Distance Save Money and Reduce Frustration?

Mastering throw distance guarantees you place your projector correctly the first time, saving you both time and money. When you understand the specifics of projection technology, you can avoid costly mistakes like purchasing the wrong projector or needing expensive adjustments later. In home theater design, precise throw distance planning ensures ideal image size and clarity without trial and error. This knowledge prevents frustration caused by blurry images, shadow interference, or insufficient screen size. By calculating your throw distance accurately, you eliminate guesswork, saving you from purchasing unnecessary equipment or making costly renovations. Additionally, understanding passive voice detection helps you craft clearer, more direct instructions and descriptions in your setup guides. Ultimately, mastering throw distance streamlines the setup process, reduces expenses, and ensures your home theater functions perfectly, delivering a seamless viewing experience without the headaches.
Frequently Asked Questions
Can I Use a Projector in a Small or Irregularly Shaped Room?
You can definitely use a projector in small rooms or irregular spaces. Just choose a compact or short-throw model that fits tight areas and adjusts easily for irregular shapes. Measure your space carefully to make certain the projector’s throw distance matches your room’s dimensions. With the right setup, you’ll get a clear image without crowding the room, making it perfect for small or oddly shaped spaces.
What Are the Signs My Projector Is Not Properly Aligned?
Did you know that nearly 60% of projector problems stem from poor alignment? If your image is blurry or distorted, it’s a sign of alignment issues. You might also notice focus problems, where the picture isn’t sharp across the screen. These signs indicate you should double-check your projector’s placement and angle. Adjust the tripod or mounting to guarantee it’s properly aligned, giving you a clear, crisp display every time.
How Does Ambient Light Affect Throw Distance Effectiveness?
Ambient light can considerably reduce your projector’s throw distance effectiveness by washing out the image, making it appear dimmer and less clear. To combat this, you should minimize ambient light and use glare reduction techniques, like blackout curtains or dimming room lights. This allows the projector’s brightness to perform at its best, ensuring your image stays sharp and vibrant, even at longer throw distances.
Are There Wireless Options That Influence Throw Distance Considerations?
Wireless options can extend your projector’s reach like an invisible rope, but keep in mind, signal range matters. You’ll want to verify the wireless connectivity’s limits because a weak signal can cause lag or disconnects, reducing effective throw distance. To get the best picture quality and avoid frustration, choose a system with a strong signal range suited for your space. This ensures your wireless setup works seamlessly, no matter the distance.
How Often Should I Recalibrate My Projector’s Throw Distance?
You should recalibrate your projector’s throw distance whenever you notice a drop in image quality or keystone correction issues, typically every 6 to 12 months. Regular calibration guarantees peak adjustment, maintaining sharpness and proper alignment. If you move the projector frequently or change the screen or room setup, consider more frequent recalibration. Staying on top of calibration frequency helps you get the best picture and saves you from costly adjustments later.
Conclusion
By understanding and accurately calculating throw distance, you can avoid costly mistakes and guarantee ideal projector placement. For example, a homeowner who measured carefully saved hundreds on unnecessary equipment adjustments and achieved a perfect image. When you master this math, you’ll enjoy crisp visuals, save money, and reduce frustration—whether setting up a home theater or a conference room. It’s a small step that makes a big difference in your viewing experience.