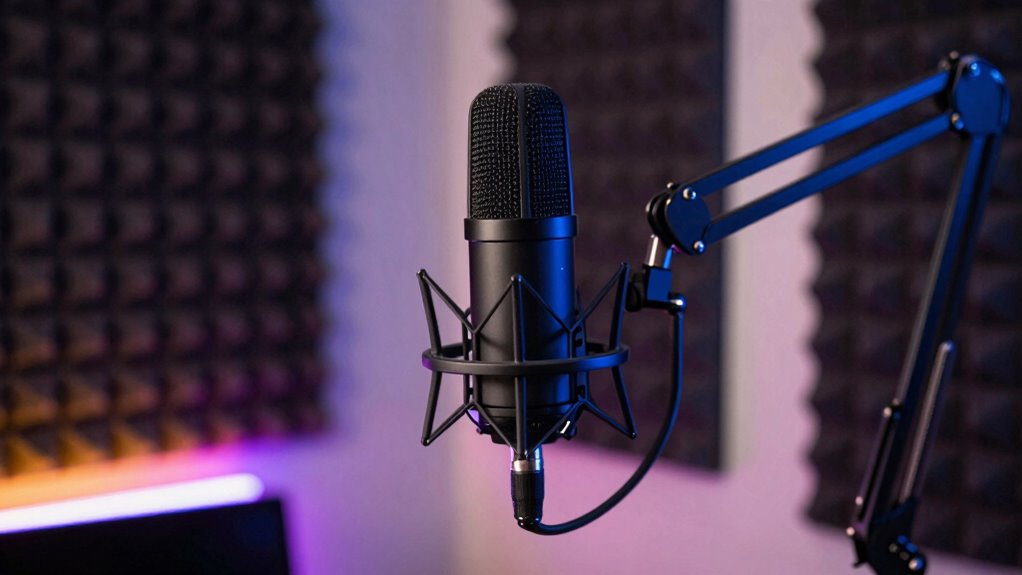
To sound pro on stream, focus on proper microphone placement. Keep the mic about 6-12 inches from your mouth, slightly off-center, and angled toward you to prevent plosives. Use a pop filter and monitor your sound with visual tools to fine-tune positioning. Adjust based on your room’s acoustics, and experiment with distance until your voice is clear and natural. Keep optimizing your setup, and you’ll uncover even better sound quality.
Key Takeaways
- Keep the microphone 6-12 inches from your mouth, angled slightly upward or downward for clear, natural sound.
- Position the mic slightly off-center to prevent plosive sounds and avoid muffling.
- Use a pop filter about an inch from the mic to reduce plosives and sibilance.
- Experiment with mic distance and angle, adjusting based on room acoustics for optimal clarity.
- Incorporate soundproofing and reflection management to minimize echo and background noise, enhancing professionalism.

FIFINE USB Microphone, Metal Condenser Recording Microphone for MAC OS, Windows, Cardioid Laptop Mic for Recording Vocals, Voice Overs, Streaming, Meeting and YouTube Videos-K669B
- Easy Plug-and-Play Setup: Includes 5.9-foot USB cable for quick connection
- Sturdy Metal Construction: Durable design with stable tripod stand
- Adjustable Volume Control: Built-in knob for sensitive volume adjustment
As an affiliate, we earn on qualifying purchases.
As an affiliate, we earn on qualifying purchases.
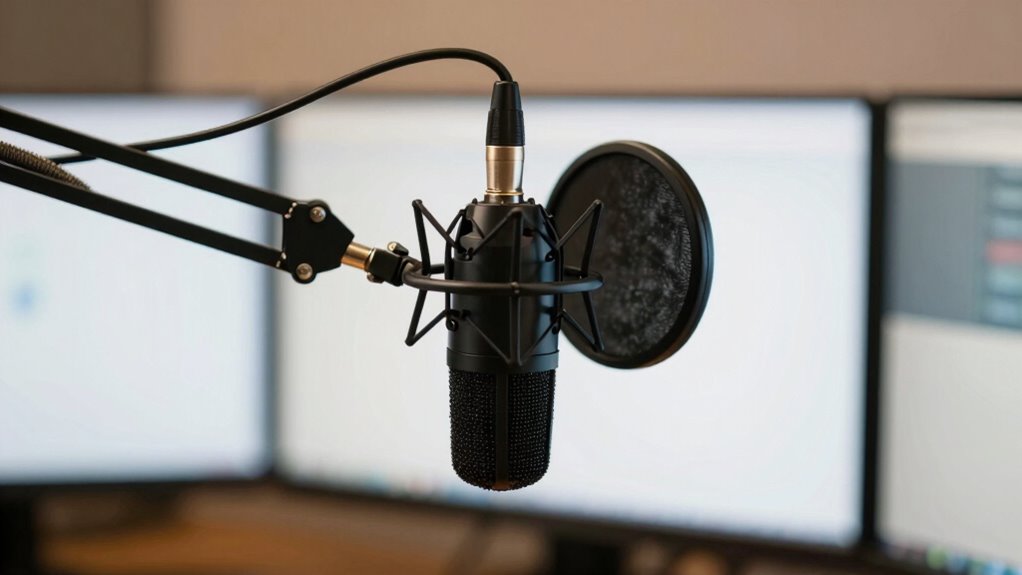
Why Microphone Placement Matters for Streaming Quality
Your microphone placement directly affects the clarity and professionalism of your stream. Poor placement can lead to muffled sound, unwanted room noise, or echo, all of which harm your audio quality. Room acoustics play a significant role; a room with hard surfaces may cause sound reflections that distort your voice. Choosing the right microphone type also matters—dynamic mics tend to reject background noise better, while condenser mics pick up more detail but are more sensitive to room acoustics. Proper placement minimizes these issues by reducing echo and background noise, ensuring your voice stays clear and natural. When you understand how room acoustics and microphone types interact, you can position your mic for ideal sound. This simple step dramatically improves the professionalism of your streaming audio. Understanding room acoustics can help you optimize your microphone setup even further.
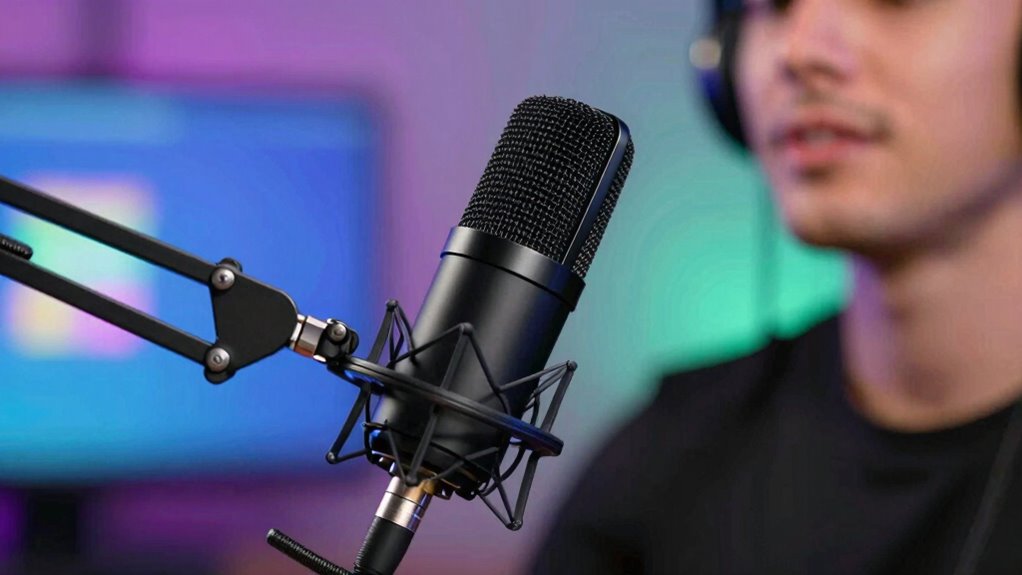
How to Find the Best Microphone Position for Your Voice
Finding the best microphone position for your voice involves experimenting with placement until you achieve a clear, natural sound. Focus on microphone ergonomics to ensure comfort and ideal audio capture. Keep the mic slightly above or at mouth level, angled toward you, to balance proximity and ambient noise reduction. Adjust distance to avoid plosive sounds and sibilance. Use a shock mount or pop filter to minimize handling noise and unwanted artifacts. Here’s a quick guide:
| Position | Benefit |
|---|---|
| Close to mouth | Rich, detailed sound |
| Slightly off-axis | Ambient noise reduction |
| Fair distance | Less proximity effect |
| Upward angle | Reduces plosives |
Experiment with these setups to find what works best for your voice and environment. For a more refined sound, consider understanding regional flavor profiles and how equipment choices influence overall audio quality.
Top Microphone Positions for Clear, Professional Sound

Finding the right microphone position makes a big difference in your sound quality. Keep the mic about 6 to 12 inches from your mouth to capture clear, professional audio. Proper positioning and distance tips make sure your voice comes through crisp and natural. Using tools that detect passive voice can help improve your writing clarity.
Optimal Distance Tips
Ever wonder how distance impacts the clarity of your recorded sound? Keeping your mic at the right distance minimizes background noise and compensates for room acoustics. Too far, and your voice sounds distant or echoes; too close, and you risk distortion. Generally, aim for about 6-12 inches from your mouth for a clear, professional result. Proper mic placement can also help prevent audio clipping and ensure consistent sound quality. Here’s a quick guide:
| Distance | Effect |
|---|---|
| 2-4 inches | Very close, captures voice detail |
| 6-12 inches | Ideal balance, reduces background noise |
| 12-18 inches | Slightly distant, risk of room echo |
| >18 inches | Voice sounds distant, room noise more noticeable |
Adjust based on your environment to optimize clarity.
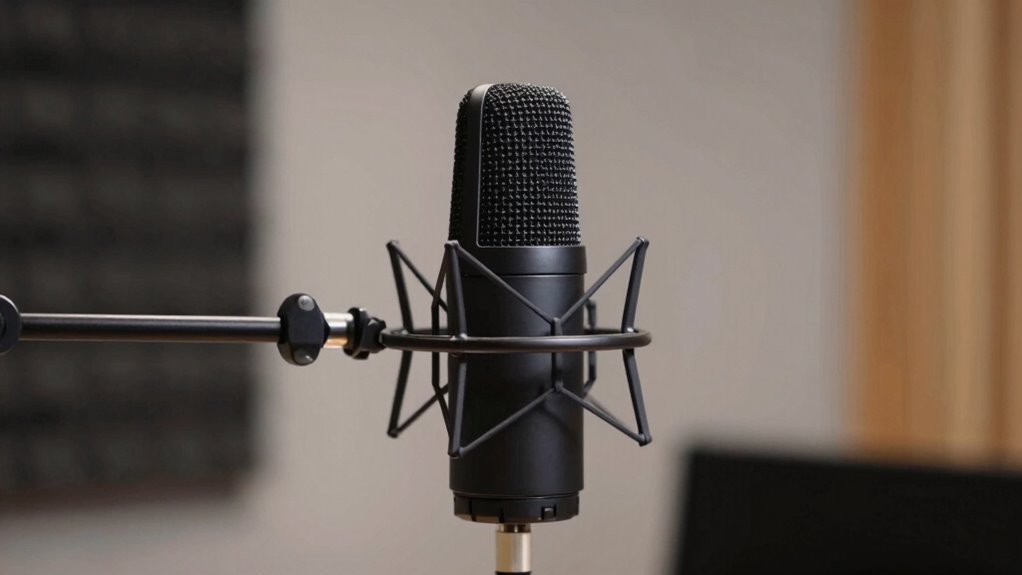
Positioning For Clarity
Positioning your microphone correctly is essential for achieving a clear, professional sound. Proper placement helps minimize background noise and optimizes room acoustics. To guarantee clarity, consider these top positions:
- Place the mic about 6-12 inches from your mouth, slightly off-center to avoid plosive sounds.
- Keep the microphone at a consistent height, aligned with your mouth, to prevent uneven room reflections.
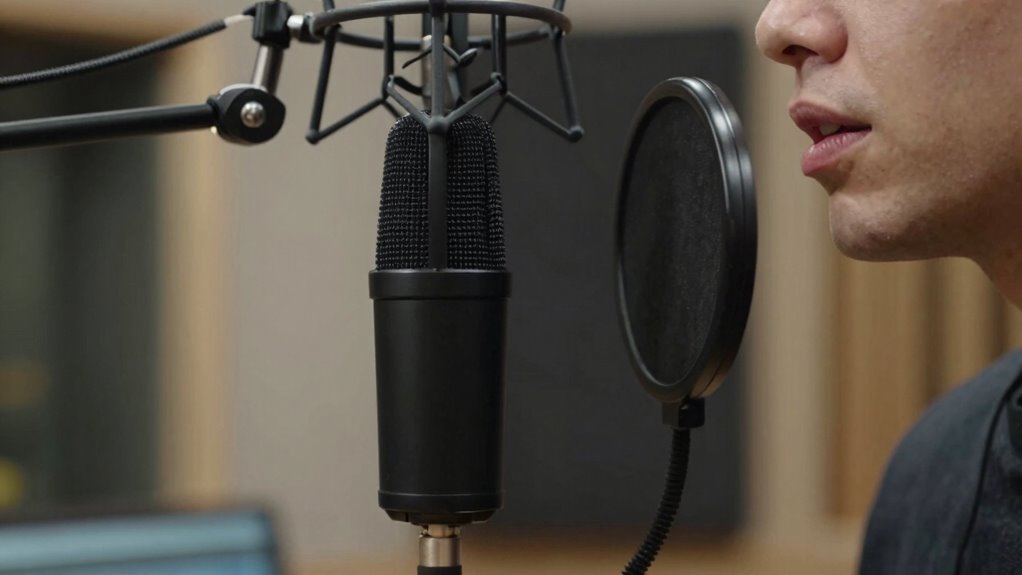
- Use a pop filter and position it about an inch from the mic to reduce plosives and improve clarity.
- Avoid placing the mic near reflective surfaces like walls or windows, as they can create unwanted echoes and muddiness.
- Understanding room acoustics can help you select the best placement and further enhance your audio quality.
This positioning helps your voice stand out and reduces room noise, making your stream sound more professional.
Adjusting Your Mic Setup for Different Streaming Environments
Adapting your mic setup to different streaming environments is essential for capturing clear, high-quality audio. Room acoustics vary greatly, affecting sound clarity. For example, a small, echo-prone space needs different mic placement than a large, soundproof room. Choosing the right microphone type also influences how well you adapt. Dynamic mics excel in noisy settings, while condenser mics suit quiet spaces. Consider this table to help visualize adjustments:
| Environment | Room Acoustics | Recommended Microphone Type |
|---|---|---|
| Small, echo-prone | Use sound absorption | Dynamic |
| Large, quiet | Minimize background noise | Condenser |
| Noisy, open spaces | Close mic placement | Shotgun or cardioid mics |
| Studio-like rooms | Balanced acoustics | Versatile condenser or ribbon |
Understanding room acoustics can significantly improve your sound quality by guiding your microphone placement and type selection.
Testing and Fine-Tuning Your Microphone Placement
To guarantee your microphone sounds its best, you need to test and adjust its placement carefully. Try changing the distance to find the clearest audio, and listen to how different sounds come through. Using visual monitoring tools can also help you spot issues and make precise tweaks. Additionally, understanding the optimal microphone placement techniques can significantly improve your audio quality.
Adjust Distance for Clarity
Finding the right distance between your microphone and your mouth is essential for clear, natural sound. Too close, and proximity effects can cause muddiness or exaggerated bass; too far, and your voice loses clarity and becomes faint. To optimize your placement:
- Keep the mic about 6-12 inches from your mouth to balance proximity effects and avoid muffled sound.
- Adjust distance to reduce background noise pickup, ensuring your voice remains clear.
- Test different positions, listening for any boomy or distant qualities.
- Remember, small changes make a big difference—move slightly closer or farther until your voice sounds balanced and natural.
- Proper microphone placement is crucial for capturing high-quality audio and maintaining a professional tone.
Fine-tuning your distance helps prevent unwanted background noise and maintains a professional vocal tone.
Test With Different Sounds
How can you guarantee your microphone setup sounds its best? The key is testing with different sounds. Play various audio types—voice, music, or ambient noise—to identify issues like sound reflection or background noise. This helps you understand how your mic responds in real situations. Use a consistent test environment to compare results accurately. Adjust placement based on how different sounds interact with your space. For example, if echoes or reflections distort your voice, tweak the mic’s position. Here’s a quick reference:
| Sound Type | Reflection Impact | Background Noise Effect |
|---|---|---|
| Voice | Minimize reflection | Reduce ambient noise |
| Music | Avoid sound reflection | Isolate sound sources |
| Ambient Noise | Detect reflection issues | Manage noise levels |
| SFX/Effects | Fine-tune placement | Ensure clarity |
Testing guarantees your mic captures sound clearly, free from unwanted reflections or background noise.
Use Visual Monitoring Tools
Using visual monitoring tools is an effective way to guarantee your microphone is positioned ideally. These tools provide real-time visual feedback, making it easier to identify issues with placement diagnostics. They help you see how your mic captures sound and how adjustments impact audio quality.
Here’s what to focus on:
- Waveform Analysis – Observe peaks and troughs to ensure consistent volume.
- Frequency Spectrum – Check for unwanted noise or muffled sounds.
- Proximity Indicators – Monitor distance to prevent plosives or muffling.
- Sound Level Meters – Confirm your voice stays within ideal loudness ranges.
By leveraging visual monitoring tools, you can make precise tweaks, ensuring your mic placement enhances audio clarity and professionalism.
Troubleshooting Common Microphone Placement Issues
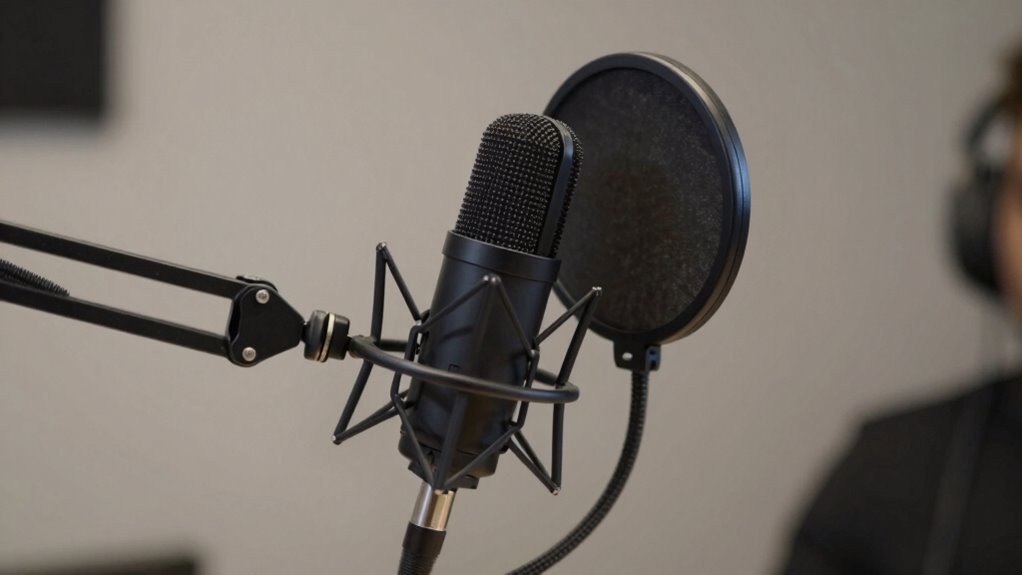
Microphone placement can often lead to issues like unwanted background noise, feedback, or muffled sound if not optimized correctly. To troubleshoot, start with pop filter placement; position it about an inch from your mic to reduce plosive sounds without blocking your voice. Next, check your microphone angle—angle it slightly downward or upward to avoid capturing breathing sounds or ambient noise. If your sound seems muffled, adjust the microphone angle to ensure it’s pointed directly at your mouth. Additionally, ensure your mic isn’t too close or too far, which can impact clarity. Proper placement helps isolate your voice from unwanted sounds and prevents feedback. Regularly test and tweak these settings until your voice sounds clear and professional, avoiding common pitfalls that compromise audio quality. Understanding soundproofing techniques can further improve your recording environment and enhance overall audio clarity.
Frequently Asked Questions
How Does Microphone Distance Affect Sound Quality and Clarity?
Your microphone distance greatly affects sound quality and clarity. When you’re too far, room acoustics can cause echo or background noise to creep in, reducing clarity. Closer placement helps minimize room effects and takes advantage of your microphone sensitivity, capturing your voice more directly. Keep a consistent distance to avoid fluctuating sound levels, and experiment with placement to find the sweet spot that balances clarity and natural tone.
What Are the Signs of Poor Microphone Placement?
If your voice sounds like you’re whispering from inside a tin can, congratulations—your microphone placement’s a disaster. Signs include poor pop filter placement that fails to block plosives, and microphone orientation that’s all wrong—either too far away or pointed at the wall. You might also notice inconsistent volume or background noise. Fix these by adjusting your mic’s position, keeping the pop filter close, and ensuring proper orientation for clear, professional sound.
Can Microphone Placement Reduce Background Noise Effectively?
Yes, proper microphone placement can markedly reduce background noise. Using effective microphone positioning techniques, you can focus on capturing your voice while minimizing ambient sounds. Keep the mic close to your mouth and avoid placing it near noisy sources. Adjust angles and distances to optimize sound pickup. This approach enhances background noise reduction, making your audio clearer and more professional without extra editing or equipment.
How Often Should I Re-Evaluate My Mic Setup?
You should re-evaluate your mic setup whenever you notice changes in your voice modulation or ambient acoustics affecting sound quality. Regular checks help guarantee your microphone captures your voice clearly and minimizes background noise. If you switch locations or your equipment shifts, it’s time to tweak your placement. Keep an eye on how well your setup adapts to different environments, and make adjustments for the best audio results.
Are There Specific Microphone Types Better for Streaming?
You might think any mic will do, but for streaming audio, certain microphone types shine. Condenser mics capture rich, detailed sound perfect for vocals, while dynamic mics reduce background noise, ideal for lively environments. Lavalier mics offer hands-free convenience, but may lack depth. Choosing the right microphone type depends on your setup and environment. Invest wisely, and your streaming audio will sound professional, even if your background chaos suggests otherwise.
Conclusion
Mastering your mic placement is like tuning a fine instrument—every small adjustment brings your voice into perfect harmony. When you find that sweet spot, your streams will sound polished and professional, engaging your audience with clarity and confidence. Don’t be afraid to experiment and fine-tune until it feels just right. Remember, the right microphone placement isn’t just a trick; it’s the secret ingredient that makes your streaming sound truly pro.